
Are California Shutters Out of Style
March 1, 2025
How High Above the Window Should a Curtain Rod Be?
March 12, 2025
Understanding Drapery Pleats
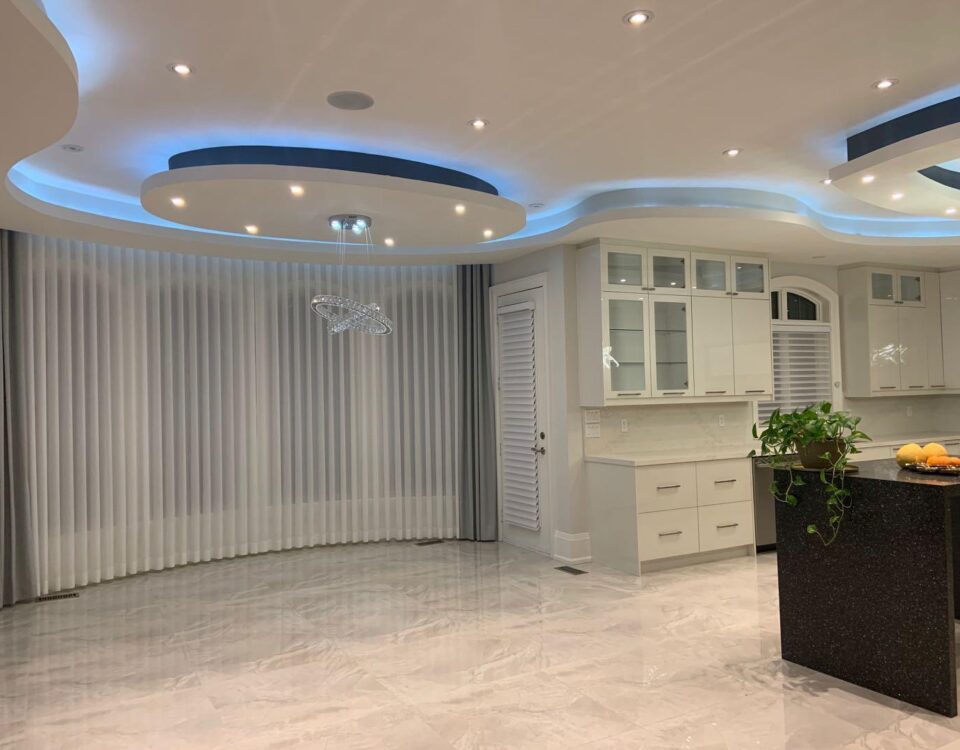
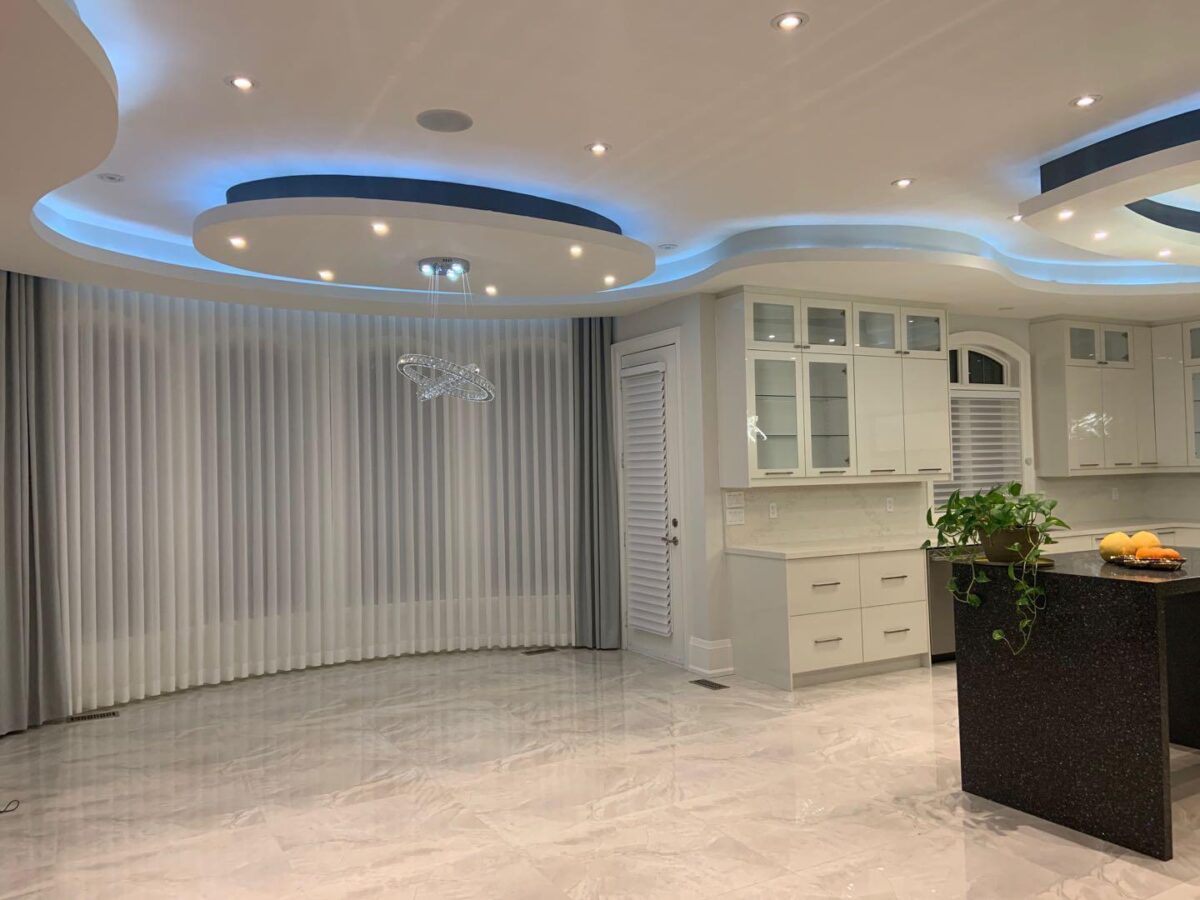
Drapery pleats come in various styles, including pinch pleats, goblet pleats, and box pleats. Each style offers a unique look that complements different interior designs, from traditional to modern. Pleated window drapery provides structure and fullness, making your custom drapes and curtains look polished and professional.
Tools and Materials Needed
Before you start making pleats for your drapery and shades, gather the following materials:
- Fabric of your choice
- Custom drapery hardware (rods, rings, or tracks)
- Drapery tape or pleater hooks
- Measuring tape
- Fabric scissors
- Sewing machine and thread
- Iron and ironing board
- Pins and needles
Step-by-Step Guide to Making Drapery Pleats
1. Measure and Cut the Fabric
Start by measuring your window to determine the amount of fabric needed. Consider adding extra length and width for fullness, especially if you’re designing drapes for arched windows or curtains for angled windows.
2. Hem the Edges
Sew a clean hem on all sides of your fabric to prevent fraying and create a polished look.
3. Mark Pleat Positions
Using a measuring tape, mark the positions of your pleats on the top edge of the fabric. Space them evenly, keeping in mind that tighter pleats create a more formal look, while wider spacing gives a relaxed, contemporary feel.
4. Create the Pleats
Fold the fabric along the marked lines, pinning each pleat securely in place. Sew the pleats at the top to hold their shape, or use pleater tape and hooks for a no-sew option.
5. Press and Finish
Use an iron to press the pleats neatly into place. Attach your custom drapery hardware, whether you’re using rods, rings, or motorized drapes for a modern touch.
6. Hang and Style
Install your drapes and adjust the pleats as needed. Whether you’re working with custom drapes for angled windows, drapery shades, or custom made curtains, ensure the pleats are evenly spaced and falling beautifully.
Choosing the Right Pleat Style
- Pinch Pleats: Ideal for traditional custom drapes and curtains, offering a tailored look.
- Goblet Pleats: A luxurious choice for formal rooms.
- Box Pleats: A structured option, perfect for modern interiors.
- Euro Pleats: A contemporary variation of pinch pleats, offering a sleek finish.
Mastering the art of drapery pleats allows you to create stunning window treatments for any space. Whether you’re crafting custom made drapes and curtains, working with smart drapes for automation, or seeking custom drapery near Mississauga, Oakville, Etobicoke and Burlington, pleated drapes elevate your home’s interior with elegance and style. Experiment with different pleat styles to find the perfect look for your space!
